


1.Is SwapFace Image to Image Tool free to use?
Yes! You’ll receive free credits the first time you visit our website, and you can get 10 free credits daily with each login, plus a special reward for 7 consecutive days of login.
Image Enhancer
Enhance image clarity
AI Image To Video
Generate video from your image & prompt
Clothes Swap
Upload an image and swap clothes


Your result will appear here
{{item.actionTypeLabel}}
{{i18n.loading.title}}
{{i18n.loading.desc}}
{{i18n.unable_to_process}}
{{i18n.sensitive_content}}
{{item.error.title}}
{{item.error.desc}}
Original
Result
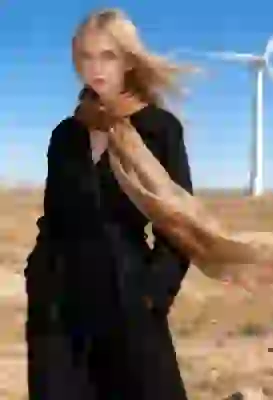
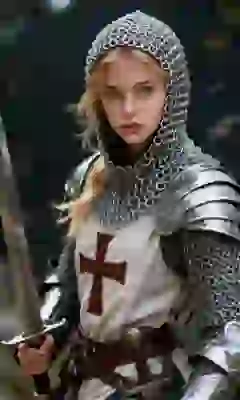
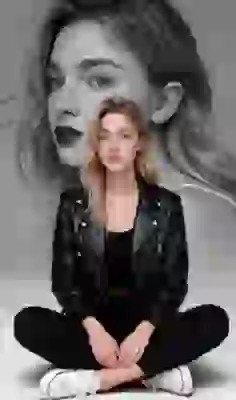
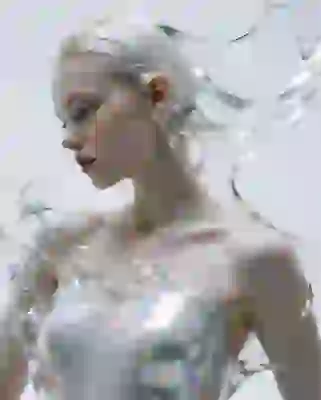
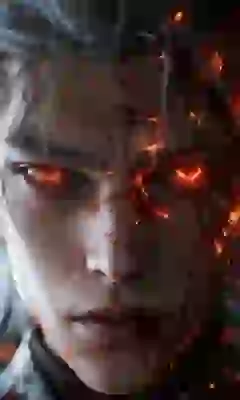
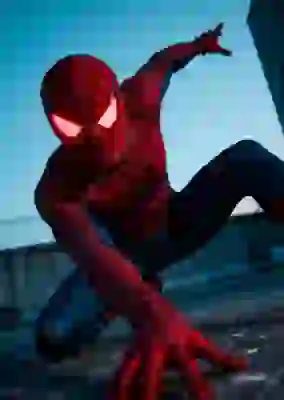
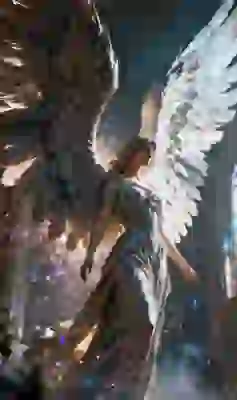
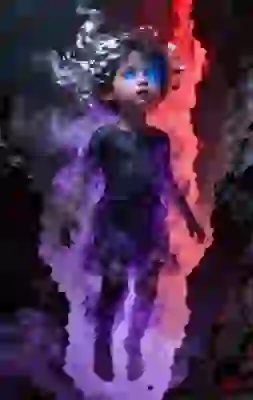
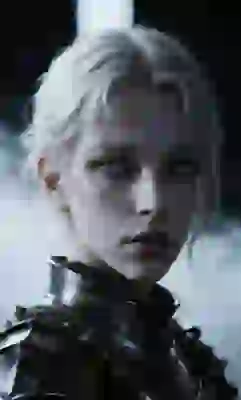
Create consistent photo variations with our AI image to image generator. Keep the same style, pose, and composition while changing small details or colors. Perfect for product photos, creative designs, and A/B testing—all done in seconds with AI.
Describe the vibe or atmosphere you want (e.g., vintage, cyberpunk, cozy).
Example: Transform the input image into a cute and cartoonical sticker, with a yellow jet hat on the panda's head, and it's chewing a bamboo leaf. Use bold and clear lines for contouring, simple and vivid coloring. The background must be all white.

Describe how you want the scene framed. (eg. frontal view, bird-eye view, location of the objects)
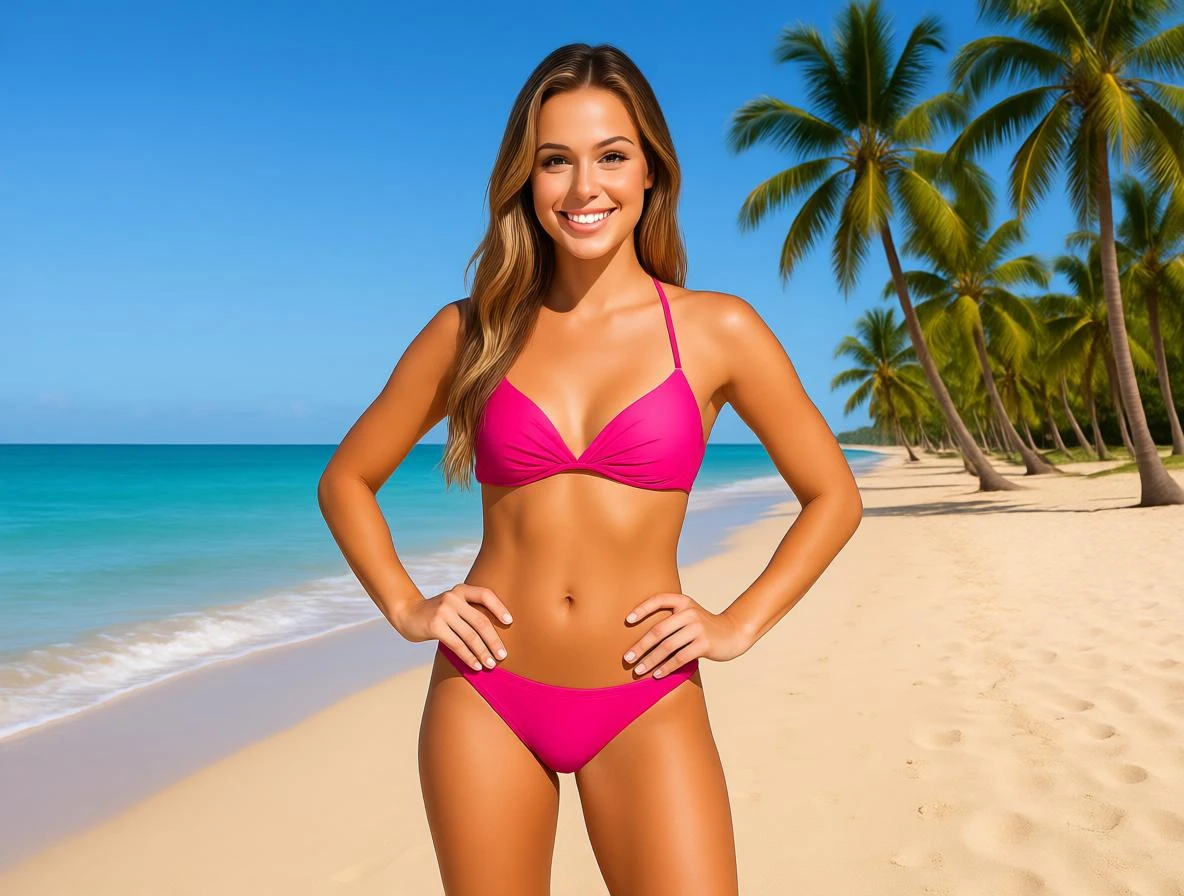
Example: A full-body, frontal view of a girl standing by the beach. She wears a pink bikini, with the sea to her left and sand to her right, lined with several coconut trees. The weather is sunny. The girl smiles at the camera, hands on her waist, posing like a model.
Outline the environment and surroundings to create depth in the image. (e.g., a woman driving along a sunset road, a graduate student standing at the campus gate).
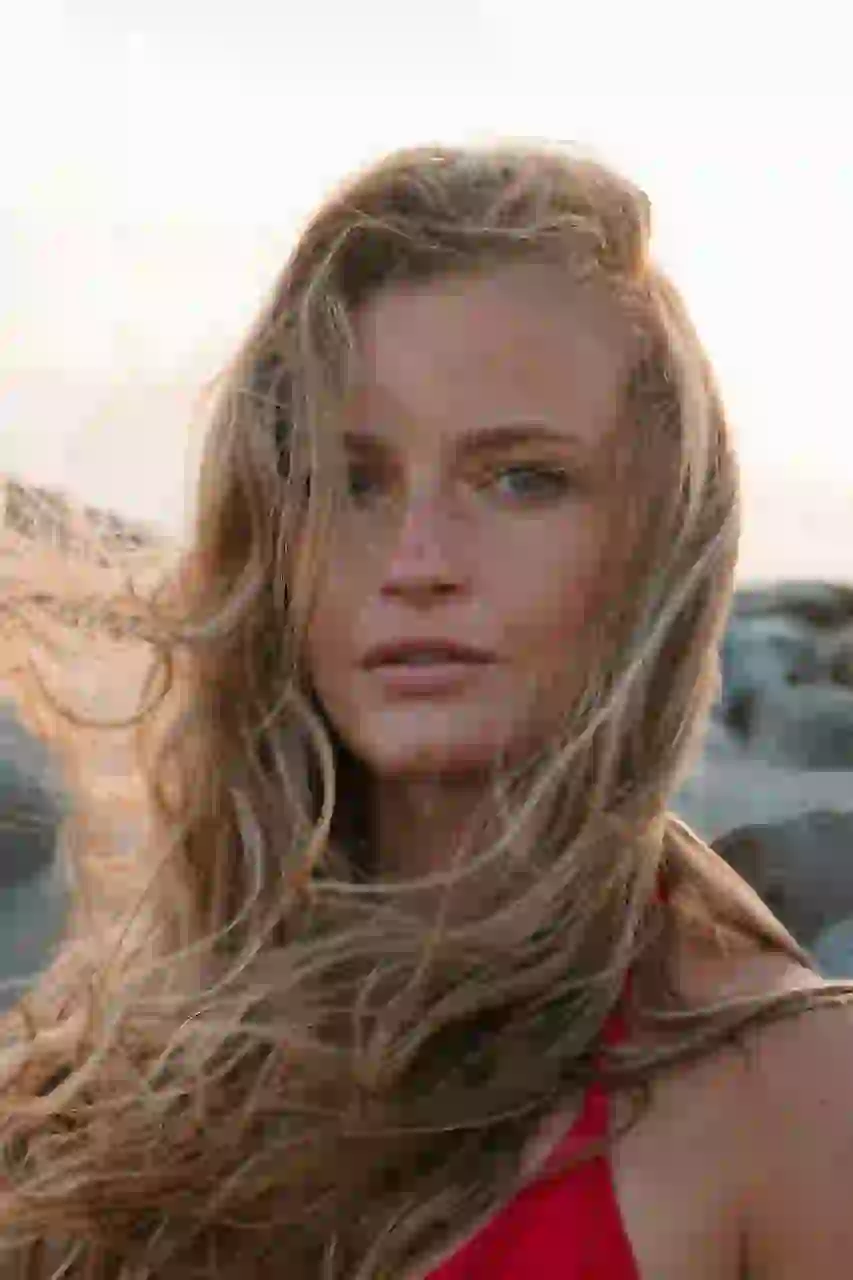
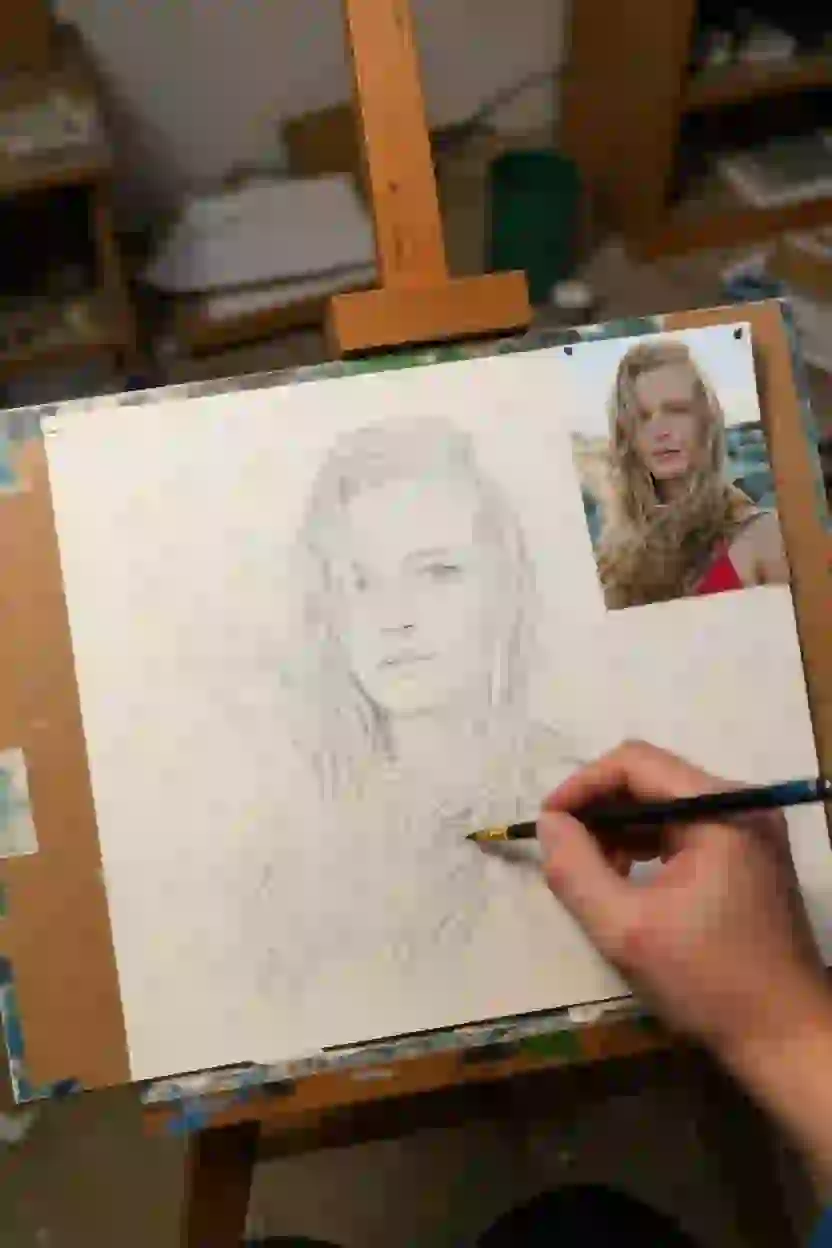
Example: Create a scene based on this photo. A painter is working in a messy, cramped studio. The original photo is clipped to the top right corner of the drawing board, and the painter is sketching it. The sketch should be unfinished, in pencil, not a colored painting. The image should be from a first-person perspective, showing only the painter's hand and pencil in the frame, with the photo clearly visible in the top right corner of the drawing board.
Provide specifics to guide the AI for the most accurate result.
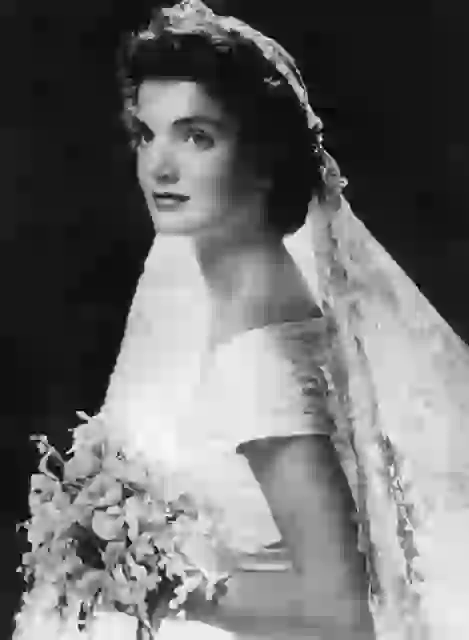
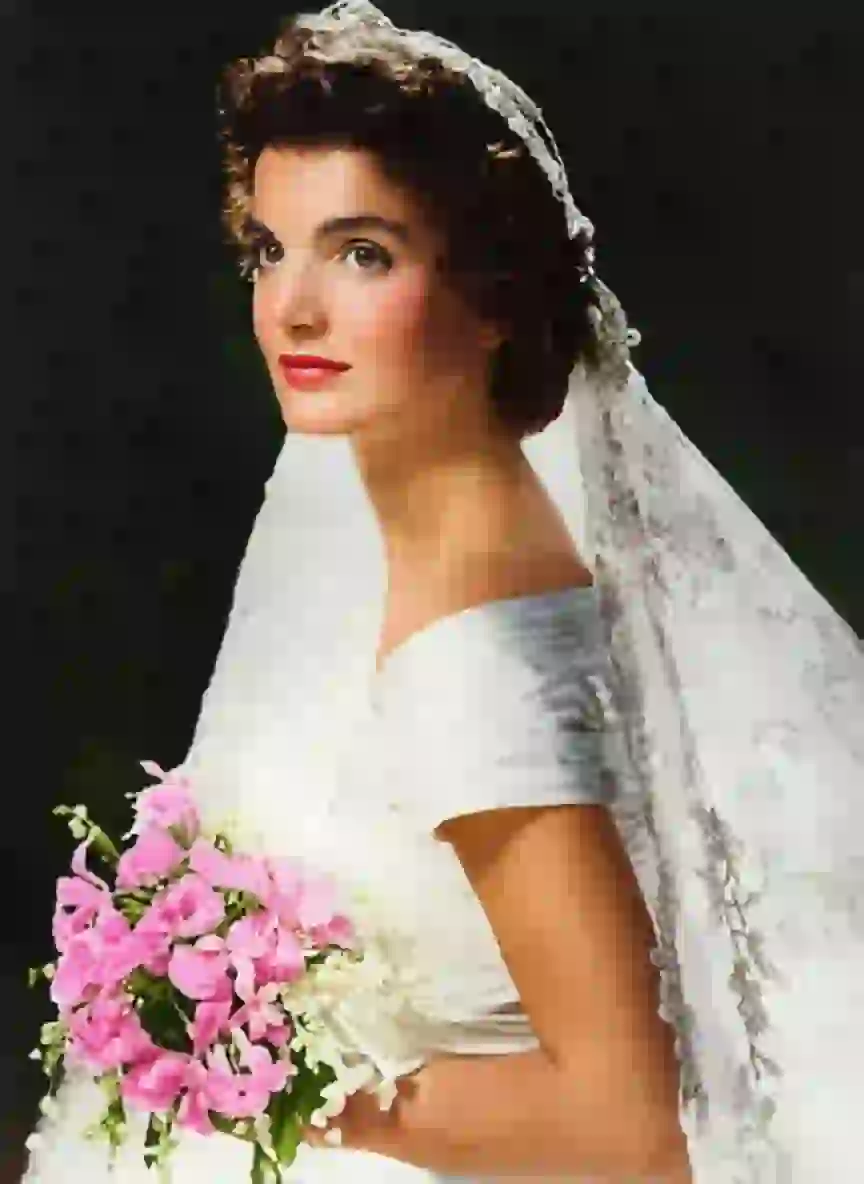
Example: Color the black-and-white photo with realistic colors. The skin should be warm beige, the hair dark brown, and the satiny dress ivy white. The bouquet should feature pink and white spray orchids and gardenias. Avoid overly saturated colors. Keep the original texture intact and maintain the lighting and shadows. Ensure color consistency throughout, giving it the feel of a vintage, colorful photo.
Use specific and vivid adjectives to avoid ambiguity. (eg. rosy lip instead of red lip, moody atmosphere instead of sad atmosphere)
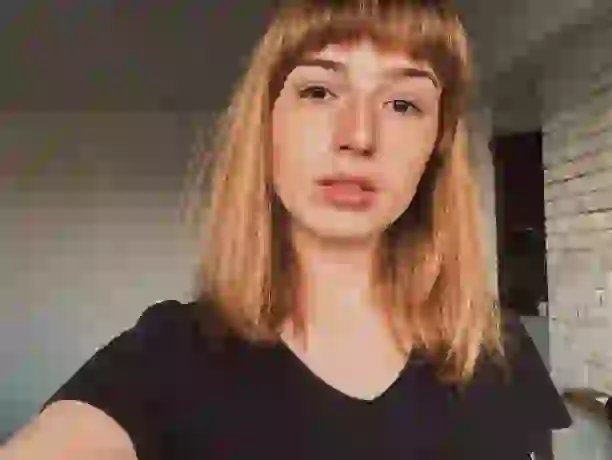
Example: Enhance this selfie. The skin should be smooth with heathy and natural blush on the cheek, almost flawless; the jaw sharp, but not overly defined; eyes bright and captivating; lips plump with a natural rosy tint. The effect should be realistic and aesthetically pleasing.

Keep your language specific and to the point to ensure clarity. (e.g., "A Tesla Cybertruck" instead of "a car," "a beige cable stitch sweater" instead of "a top").
Example: Transform the image into a half-assembled Lego toy model on a table, with scattered Lego parts around it.

Yes! You’ll receive free credits the first time you visit our website, and you can get 10 free credits daily with each login, plus a special reward for 7 consecutive days of login.
Absolutely! To make the result more realistic, add more detailed prompts, like the crease on clothes, lighting, and shadows.
Make sure your prompt is clear and detailed. Keep the background simple and limit the number of characters in the image.
Yes! Just describe the object and its location in the prompt, and the tool will remove it while preserving the background and other elements.
You can visit our Image Enhancer page to improve the clarity of your image. The Image Enhancer is free to use!
The processing time depends on the network and the number of users online. If many users are online at the same time, it may take longer to receive your result.
Unfortunately, once the page is refreshed, you won't be able to access your processed result, as we don't store user data for privacy reasons. We recommend downloading your result before refreshing the page.
The processed image will be in JPEG format.
Login To SwapFace
sign in to continue
We'll email you a 6-digit code — no password needed.
Enter The 6-digit code sent to
Signing in automatically once all 6 digits are entered